
In modern data pipelines, Parquet is a widely used format for efficient storage and processing. If you’re working with Azure Data Lake and need to move Parquet files into Azure Synapse Analytics (Data Warehouse) using Azure Data Factory (ADF), this step-by-step guide will help you set up the process smoothly.
By following these steps, you’ll be able to extract, transform, and load (ETL) your Parquet data into a structured data warehouse environment, enabling better analytics and reporting.
Let’s get started!
Step 1-4: Create a Linked Service for Azure Data Lake
1. Go to Azure Data Factory in the Azure Portal.

2. Click on the Suitcase icon → Select Linked Services → Click New.

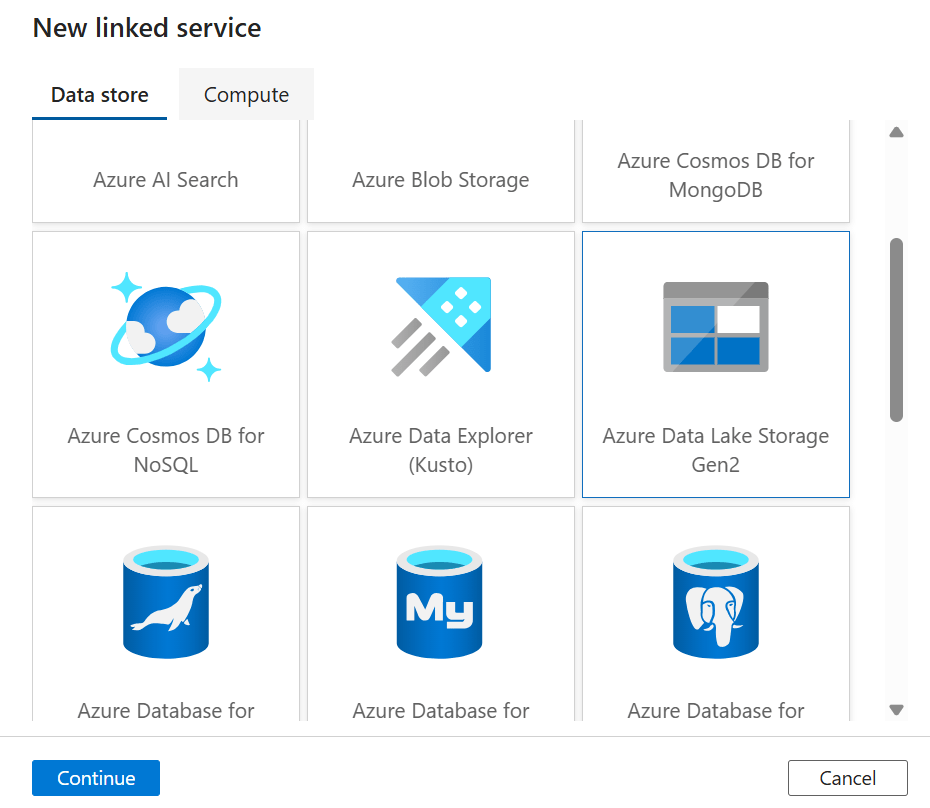
3. Search for Azure Data Lake Storage Gen2, select it, and click Continue.
4. Fill in the required details (Name, Authentication Method, Storage Account Name) and click Create.

Step 5-8: Create a Parquet Dataset (Source)
5. Click on the Pencil icon → Select Dataset → Click New Dataset.

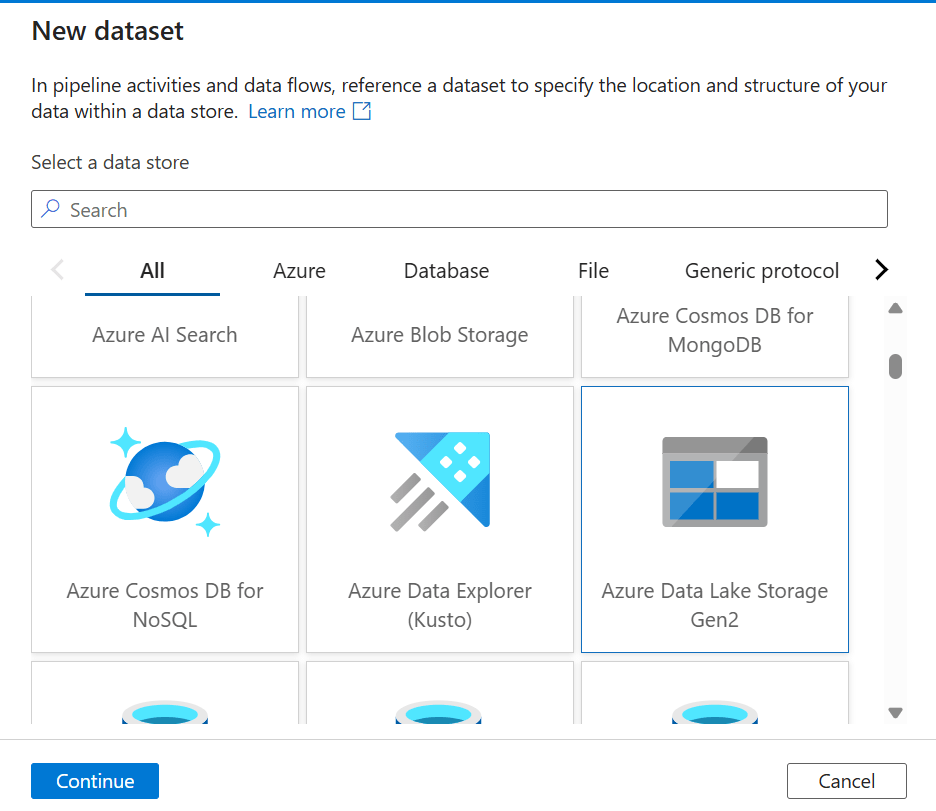
6. Search for Azure Data Lake Storage Gen2, select it, and click Continue.
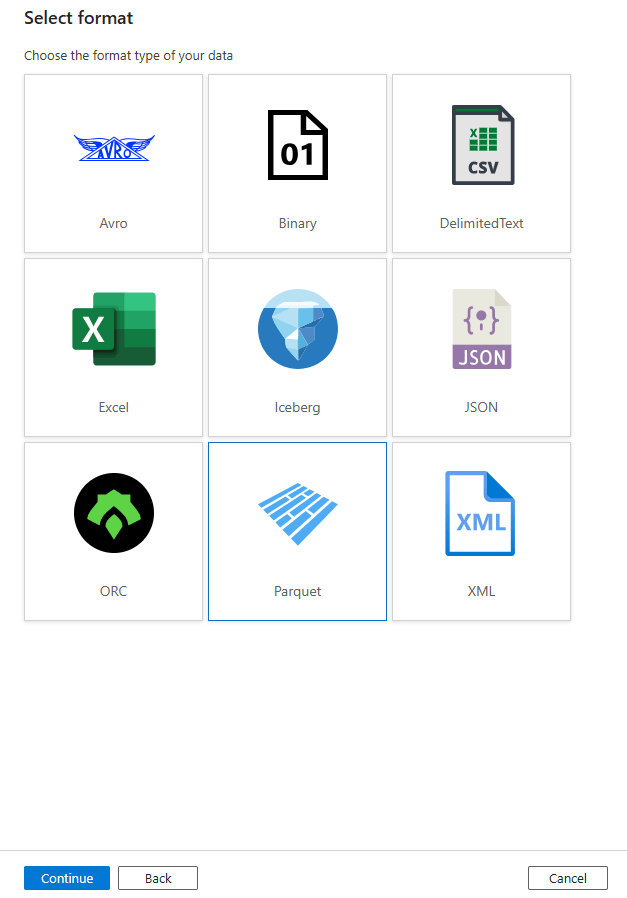
7. Choose Format as Parquet, then click Continue.
8. Fill in details (Name, Linked Service, and Browse the file location in Data Lake).

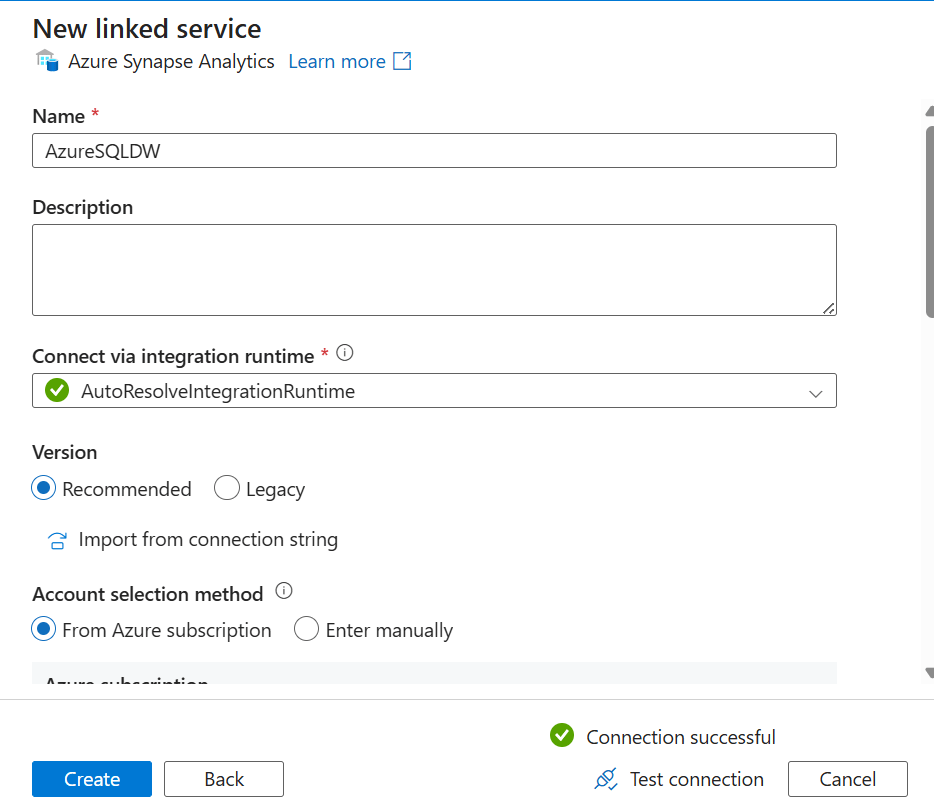
Step 9-11: Create a Linked Service for Azure Synapse Analytics (Data Warehouse)
9. Click on the Suitcase icon → Select Linked Services → Click New.

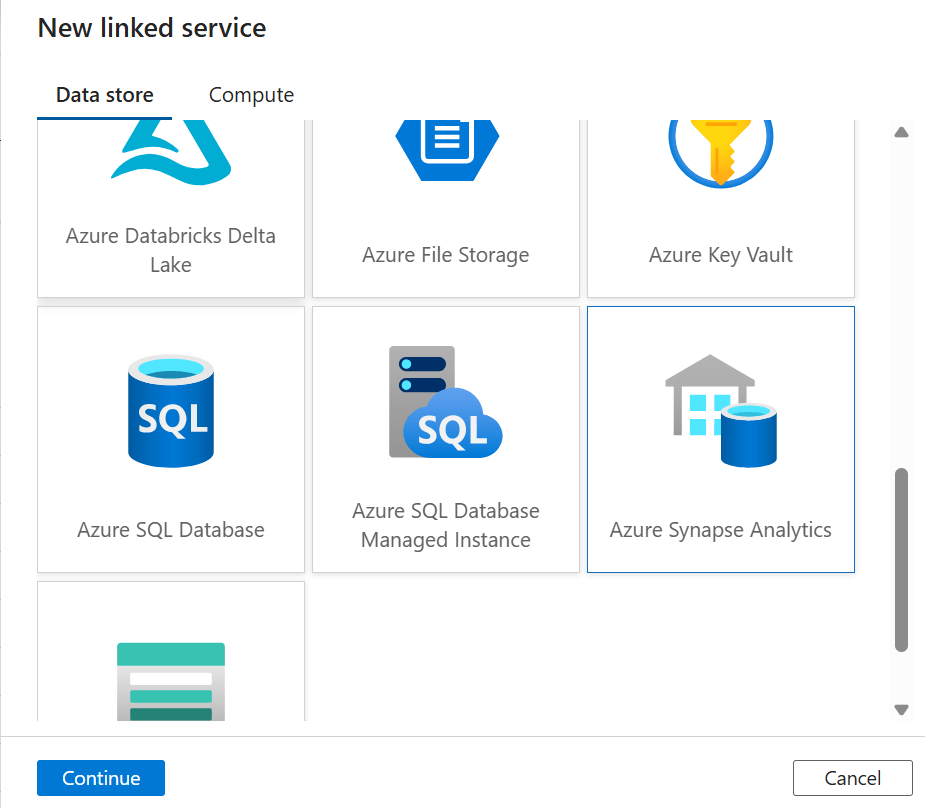
10. Search for Azure Synapse Analytics, select it, and click Continue.
11. Fill in details (Name, Authentication Type, Server Name, Database Name) and click Create.
Step 12-14: Create a Dataset for Data Warehouse (Sink)
12. Click on the Pencil icon → Select Dataset → Click New Dataset.

13. Search for Azure Synapse Analytics, select it, and click Continue.
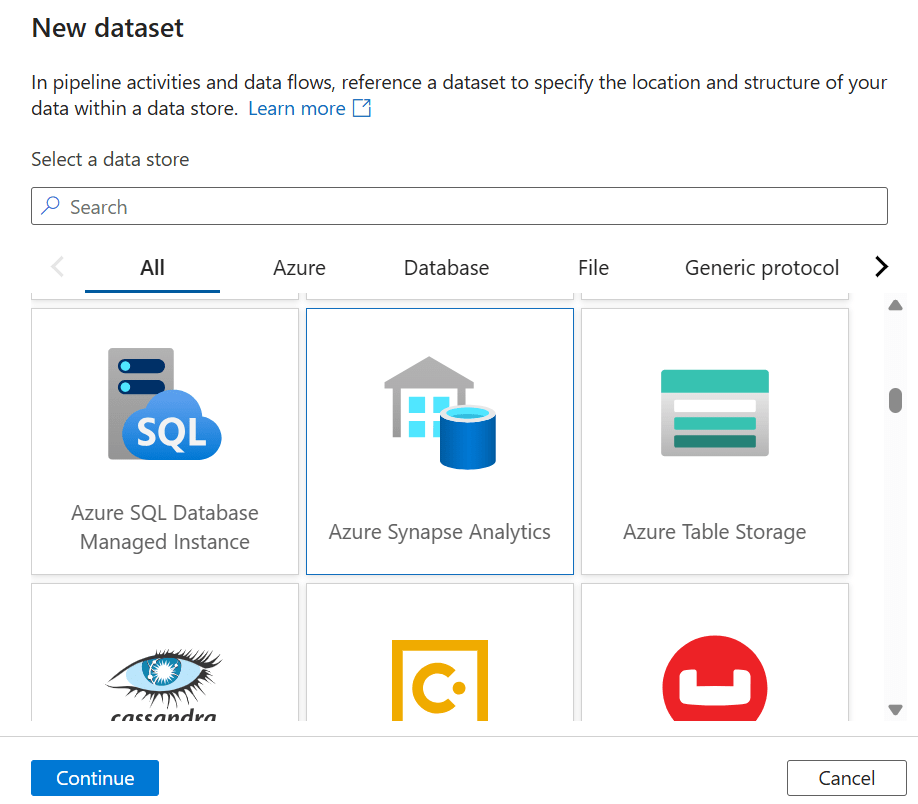
14. Fill in details (Name, Linked Service you created for SQL DW) and click OK.

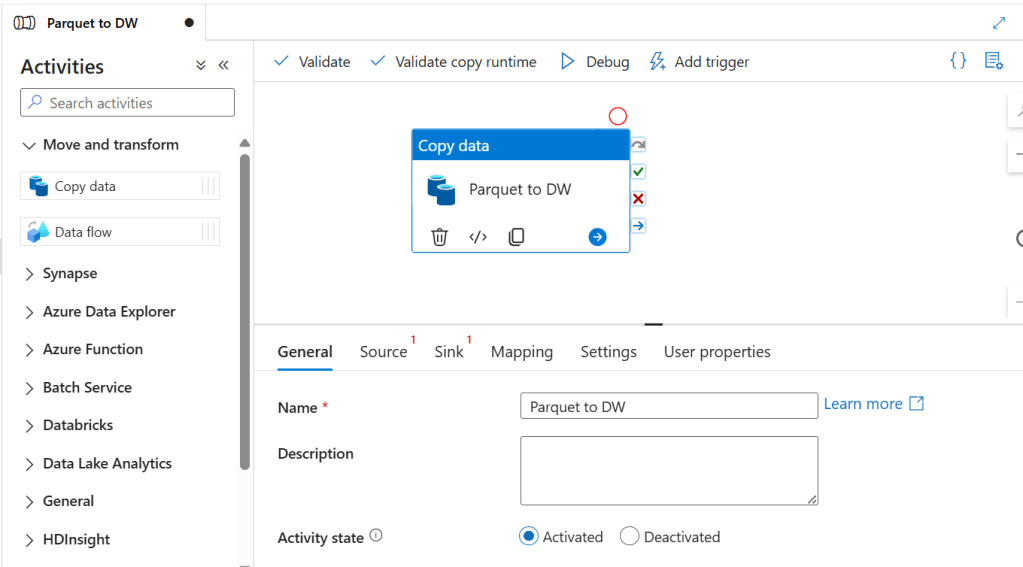
Step 15-16: Create a Pipeline
15. Click on the three dots in the Pipeline option → Click New Pipeline, name it appropriately.

16. Search for Copy in Activities and drag the Copy Activity to the pipeline pane → Name it Parquet to DW.
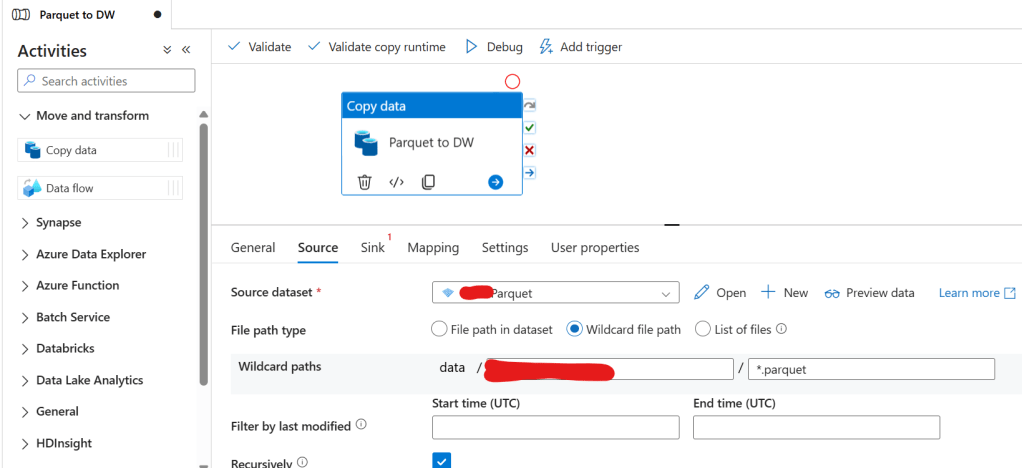
Step 17-18: Configure Source and Sink
17. Select the Copy Activity, go to Source, select the Parquet Dataset, and fill in details.
18. Go to Sink, select Azure SQL DW Dataset, and enable the Auto create table option.
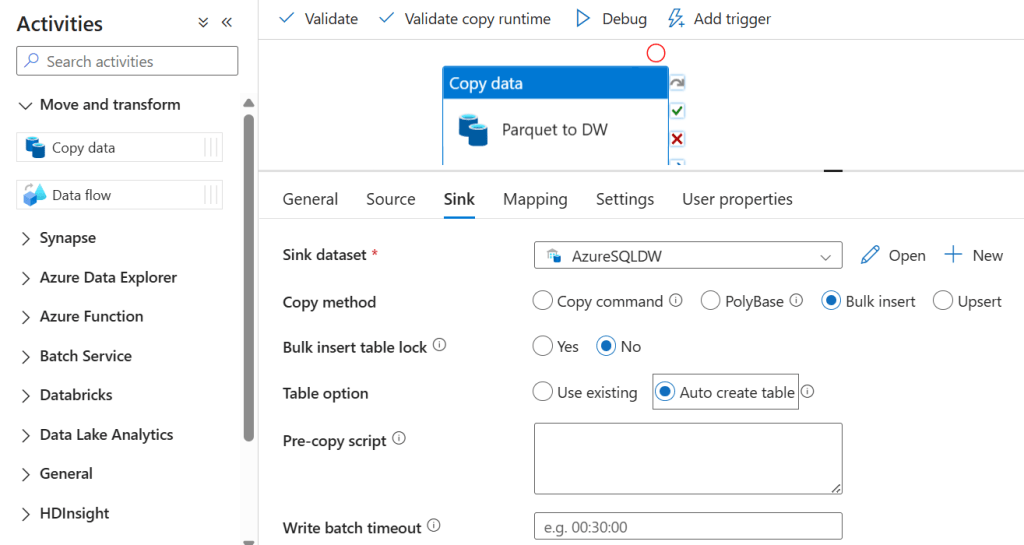
Note: This is for one time load only, you need to select Use existing in Sink if you want to schedule the loading process.
Step 19-20: Execute and Deploy
19. Click Debug to test the pipeline and ensure everything runs successfully.

20. Once validated, click Publish to save and deploy your pipeline.

Final Thoughts
By following these steps, you have successfully set up Azure Data Factory to move Parquet files from Azure Data Lake to Azure Synapse Analytics. This setup helps streamline data movement and enables efficient querying and reporting.
Ready to take your skills to the next level? Click here for my Python book, here for my Machine Learning book, and here for my SQL book—now available on Kindle!

Leave a comment