In today’s data-driven world, integrating marketing and sales data from platforms like HubSpot into a centralized storage system such as Azure Data Lake is critical for advanced analytics and reporting. Azure Data Factory (ADF) makes it simple to automate this process without writing any code.
In this guide, we’ll walk through the exact steps needed to pull data from HubSpot and store it in Azure Data Lake Storage Gen2 in JSON format.
Let’s dive right into it.
Steps:
Step 1: Go to the Azure Portal, navigate to your Azure Data Factory instance.

Step 2: Click on the Suitcase icon (Manage section), then go to Linked Services and click on New.

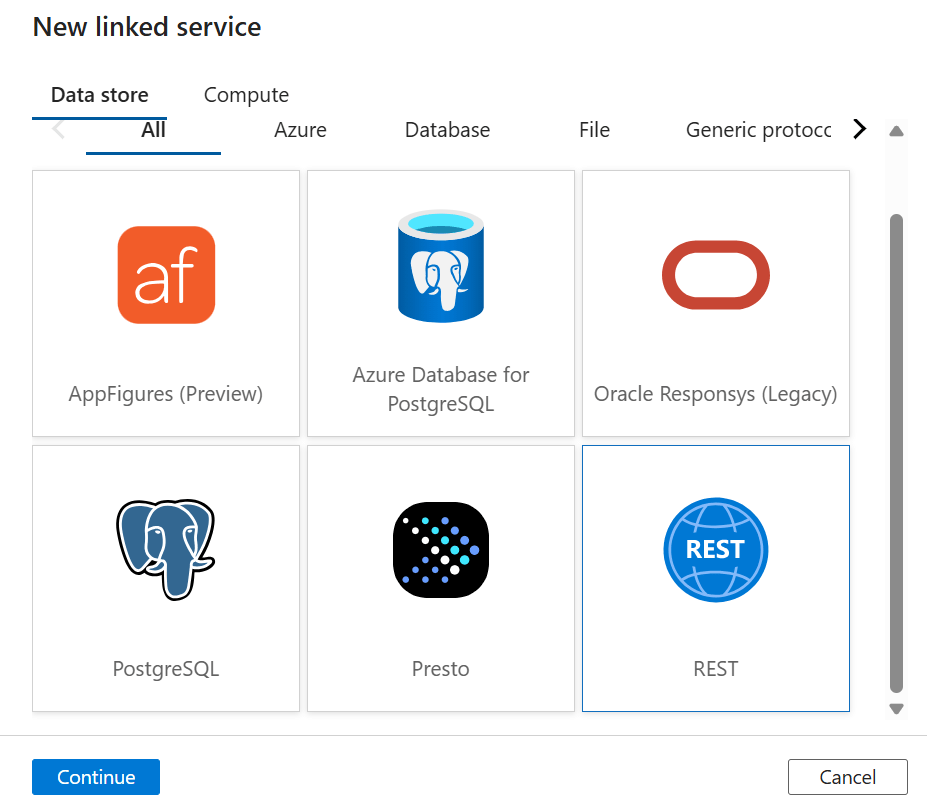
Step 3: In the search box, type REST, select the REST option, and click Continue.
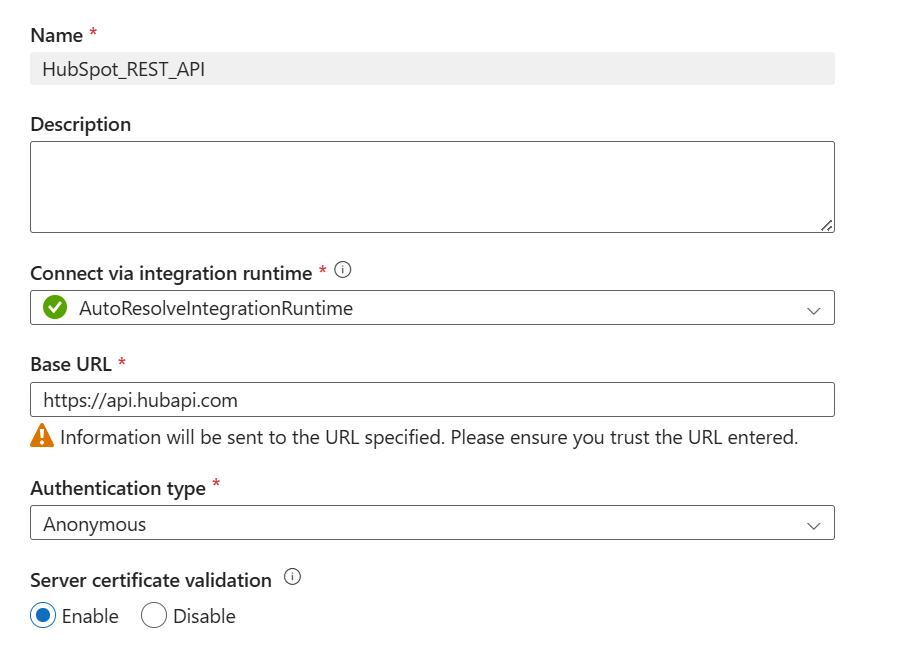
Step 4: Fill in the required details like the Name of the linked service, the Base URL, choose Authentication as Anonymous, and then click Create.
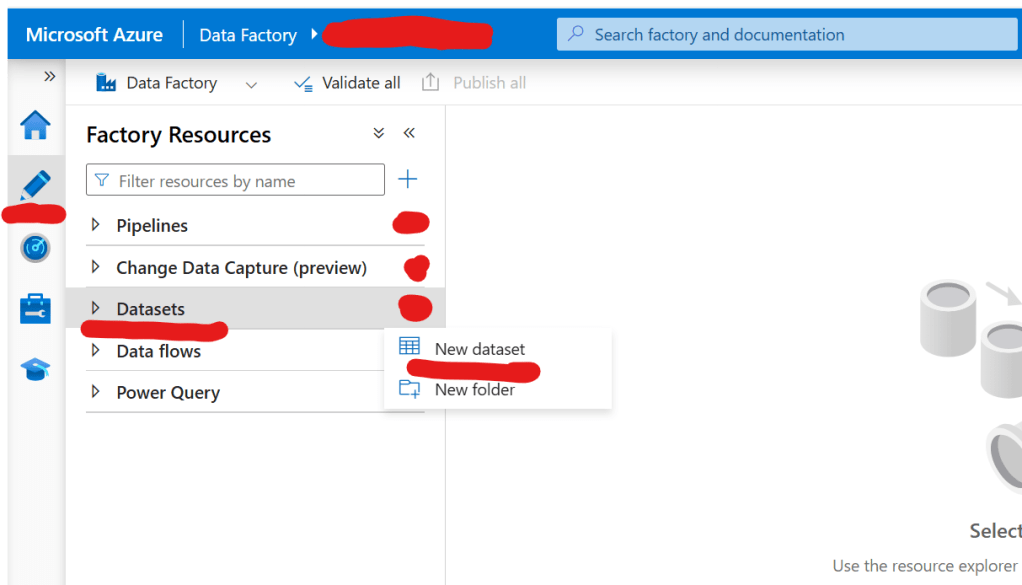
Step 5: Click on the Pencil icon (Author section), then click on Datasets, and then click on New Dataset.

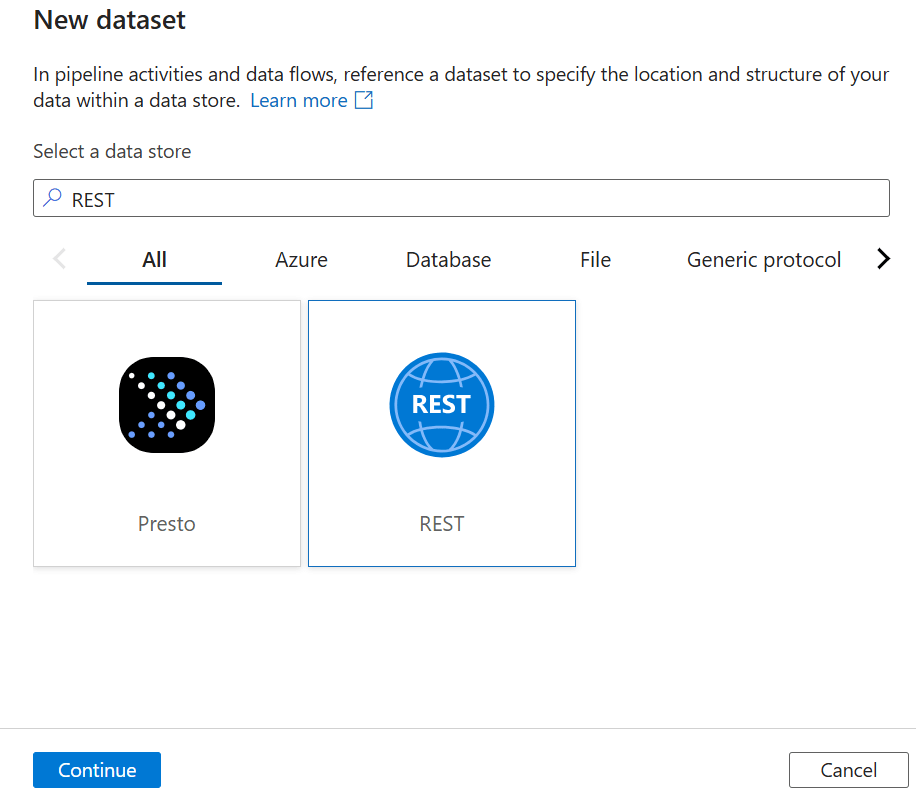
Step 6: Type REST in the search box, select the REST option, and click Continue.
Step 7: Provide a Name, select the REST Linked Service you created earlier, and then click OK.

Step 8: Once the dataset is created and the window opens, provide the URL of the specific HubSpot table (API endpoint) you want to pull the data from.

Step 9: Click again on the Suitcase icon, go to Linked Services, and click New.

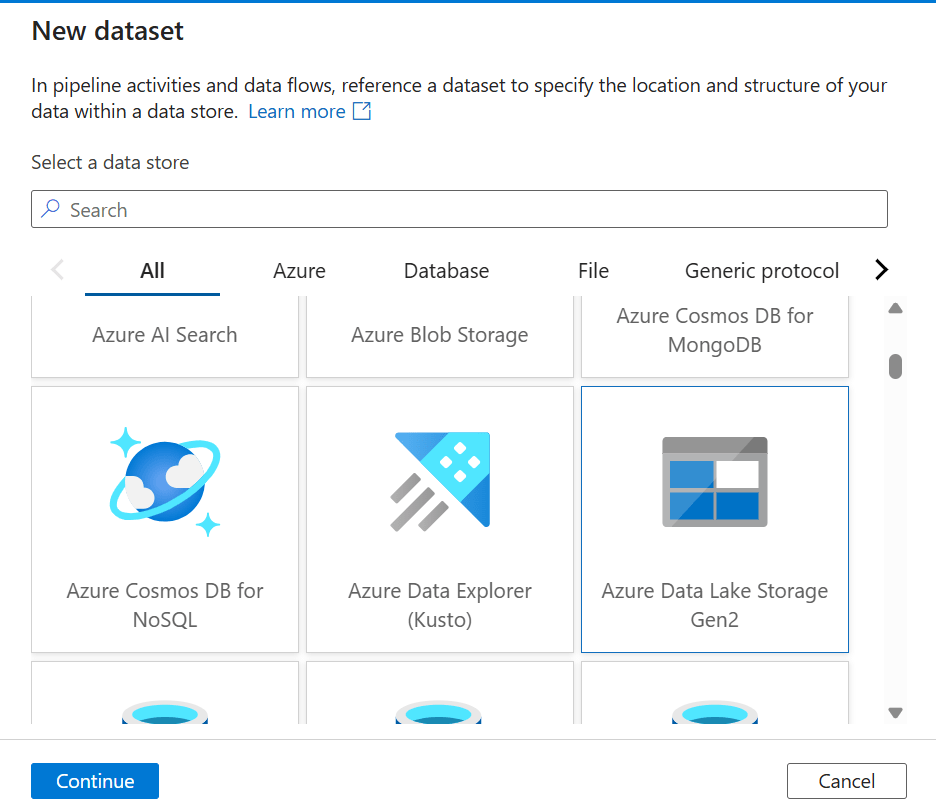
Step 10: Search for Azure Data Lake Storage Gen2, select it, and click Continue.

Step 11: Fill in the details such as the Name, select the Authentication method, provide the Storage Account Name, and then click Create.

Step 12: Click on the Pencil icon, go to Datasets, and click New Dataset.
Step 13: Search for Azure Data Lake Storage Gen2, select it, and click Continue.
Step 14: When asked for the format, select JSON, and then click Continue.

Step 15: Fill in the necessary information like the Name, select the Linked Service, and browse to the location where you want to store the JSON file inside the Data Lake.

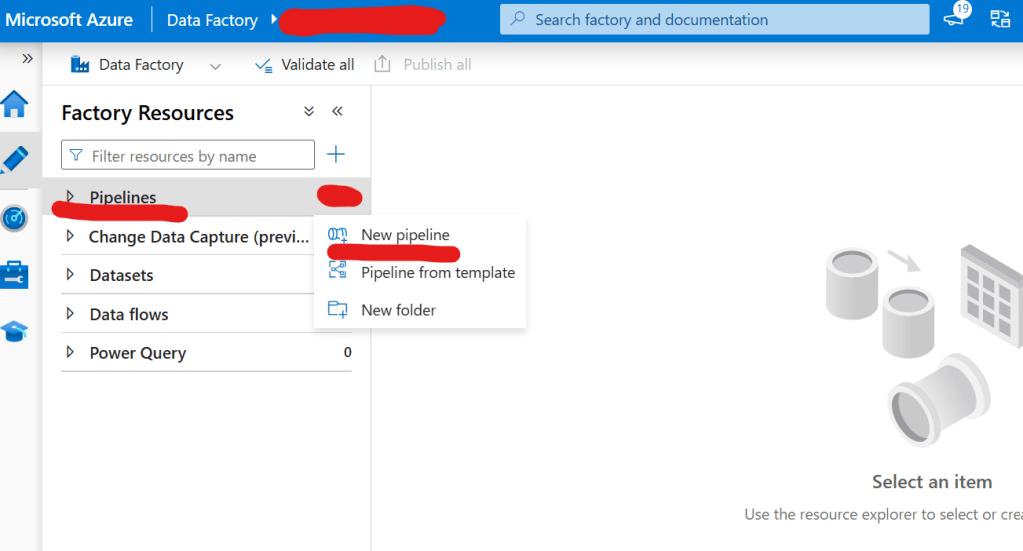
Step 16: Click on the three dots next to the Pipeline section, click New Pipeline, and give the pipeline a name.
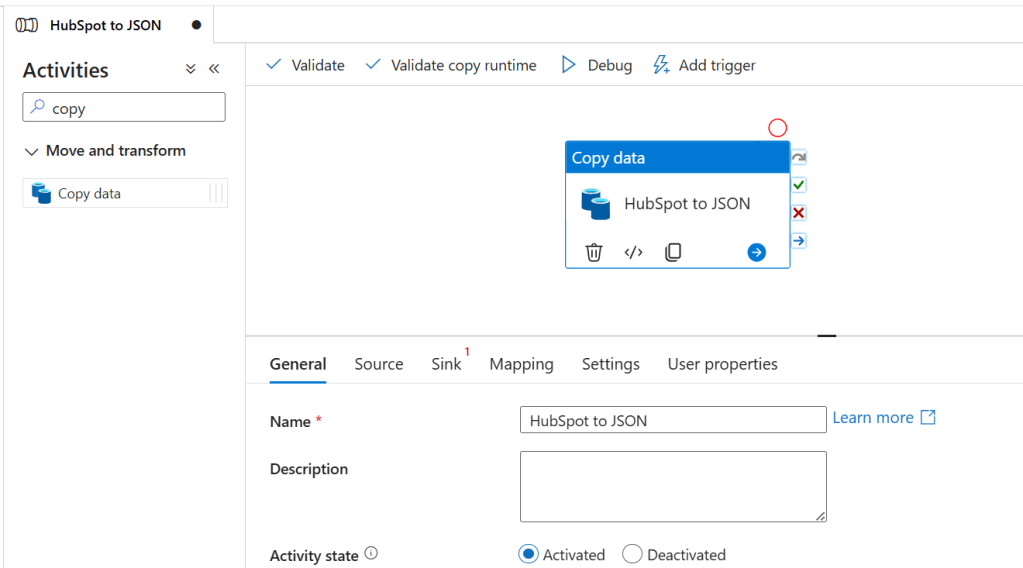
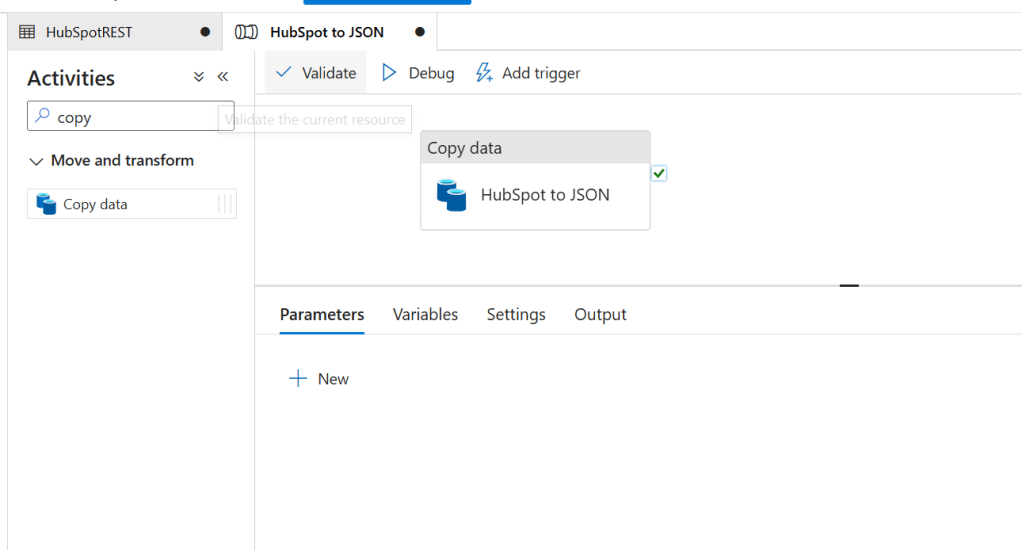
Step 17: In the Activities search box, type Copy, then drag the Copy Activity to the pipeline design canvas. Name the activity “HubSpot to JSON“.
Step 18: Click on the newly added activity, then click on Source, and from the dropdown, select the REST Dataset you created earlier.

Step 19: Fill in any necessary details like the Method (GET, POST), Body (if needed), and Additional Headers (like API Keys).

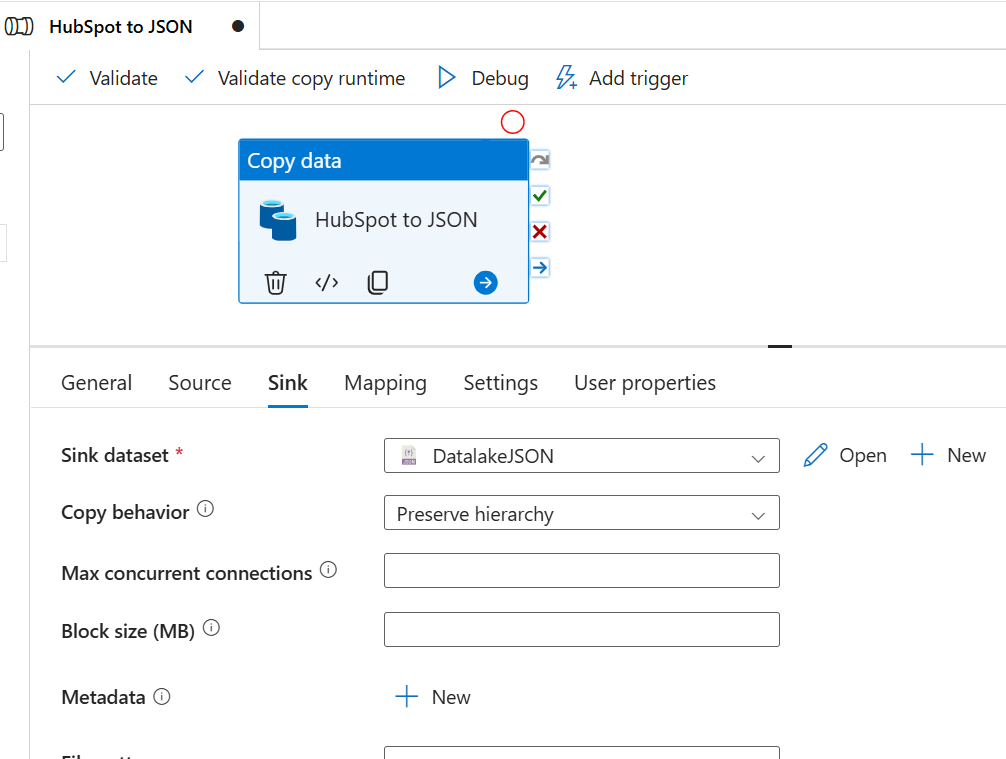
Step 20: Click on the Sink tab and select the JSON Dataset from the dropdown list.
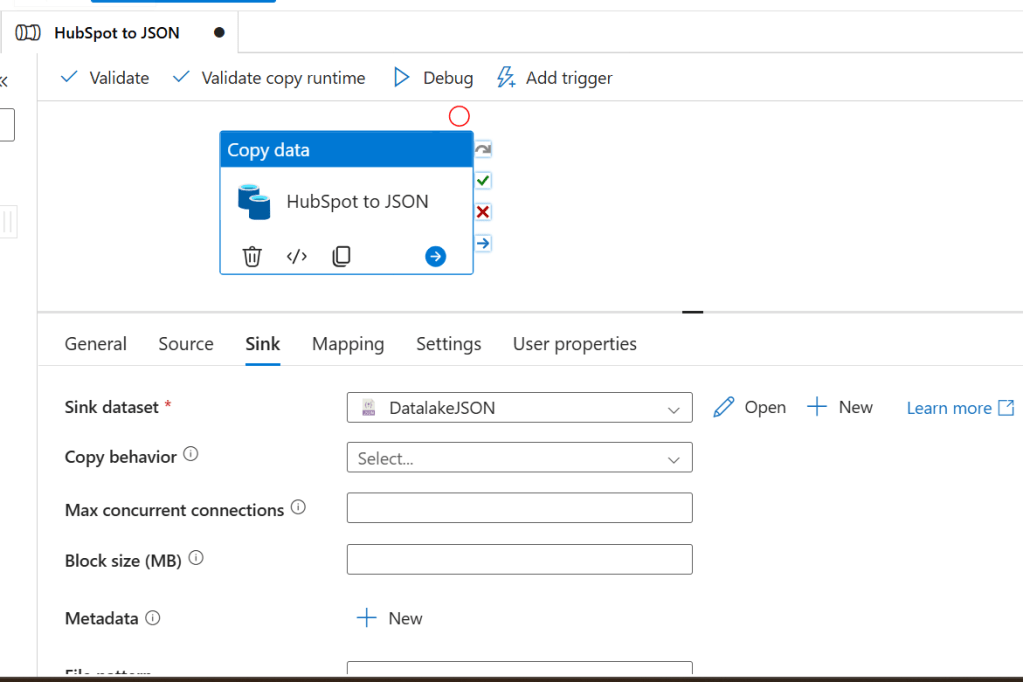
Step 21: In the Sink settings, select Copy behavior as Preserve Hierarchy to maintain the structure of the JSON data.
Step 22: Click on Debug to test-run the pipeline and ensure everything is working properly.
Step 23: Finally, click on Publish to save and deploy your pipeline.

Conclusion
By following these steps, you can easily extract HubSpot data and store it in Azure Data Lake in JSON format using Azure Data Factory.
This process enables you to leverage cloud-scale analytics on your marketing and sales data, driving better insights and decisions.
If needed, you can also automate this pipeline with triggers to ensure your data stays up-to-date automatically!
Thank you for reading and Happy Data Engineering
Ready to take your skills to the next level? Click here for my Python book, here for my Machine Learning book, and here for my SQL book—now available on Kindle!

Leave a comment