Ready to explore Microsoft Fabric? You’re about to dive into one of the most powerful data platforms available today.
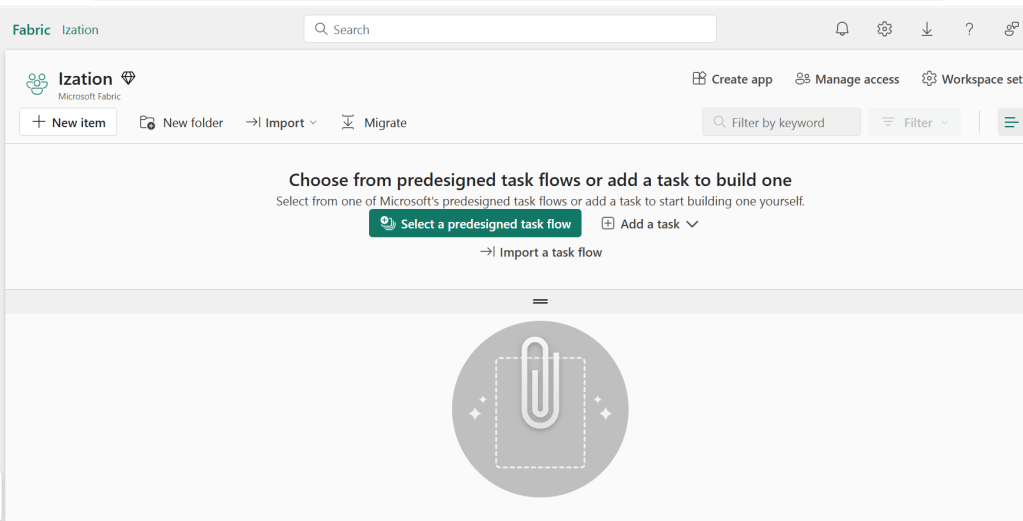
If you’re starting with Microsoft Fabric, the first thing you’ll need is a workspace, it is a central hub where all data-related assets live. Think of it as your project’s headquarters: datasets, pipelines, Lakehouses, dashboards, and governance settings are all managed here.
In this guide, we’ll walk you through:
- How to create your first workspace in Microsoft Fabric
- How to assign capacities for performance
- How to set user roles for collaboration
- How Fabric licensing works so you pick the right plan
What Is a Microsoft Fabric Workspace?
A workspace is a secure container where you store, manage, and share Fabric assets.
Inside a workspace, you can:
- Build and run data pipelines with Data Factory
- Store data in Lakehouses or Warehouses
- Visualize with Power BI
- Manage permissions and governance centrally
Step 1: Creating a Microsoft Fabric Workspace
Prerequisite: You’ll need a Power BI Pro license or higher to access Fabric features (more on licensing later).
- Sign in to the Microsoft Fabric portal: https://app.fabric.microsoft.com/.
- In the left navigation panel, click Workspaces → New workspace.
- Name your workspace: choose something descriptive, like Sales_Analytics_Fabric or IoT_Data_Lakehouse.
- (Optional) Add a Description so team members know its purpose.
- Click Apply: your workspace is created instantly.

Tip: Keep workspace names short but meaningful, long names can be cumbersome in scripts and queries.
Step 2: Assigning Capacities and Roles
Fabric uses the concept of capacities to determine how much computing power is available for your workspace.
- Capacity = the compute + memory pool your workspace can use.
- Without capacity assignment, you can only use the default shared resources (limited performance).
Assign capacity:
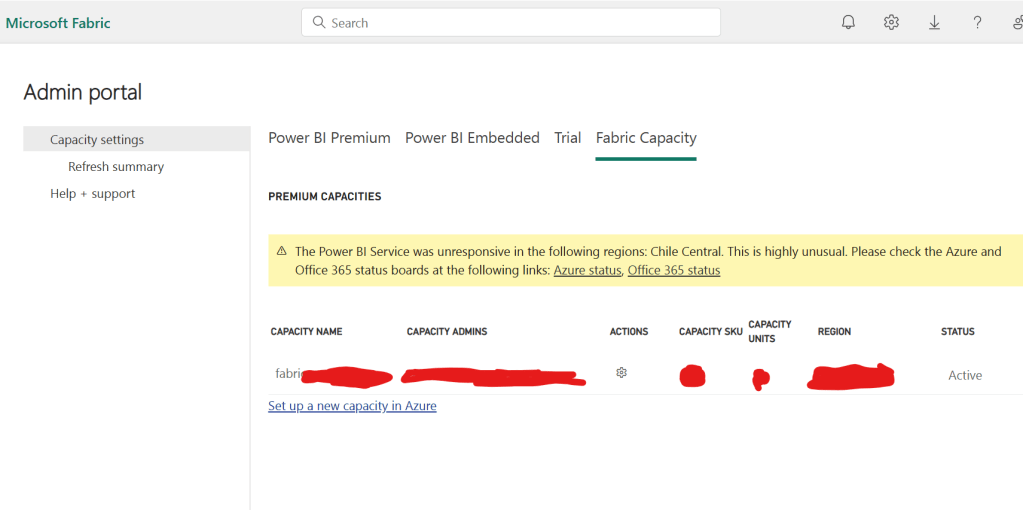
- Open your workspace → Settings → Admin Portal.
- Click on Fabric Capacity.
- Click on Set up a new capacity in Azure.
- Click on Change size and Select the resource size (e.g., F64, F128, etc., depending on what’s provisioned for your org).
- Click Review + Create : your workspace now has dedicated resources.
Assign roles:
- Admin → Full control over workspace settings, users, and content.
- Member → Can add, edit, and delete content.
- Contributor → Can create and update content but not manage workspace settings.
- Viewer → Can only view content.
Go to Workspace → Manage access → Add users/groups and assign the right role.
Step 3: Understanding Fabric Licensing
Fabric’s licensing is flexible, but it comes down to two main models:
- Per capacity (recommended for teams/orgs)
- You buy a dedicated Fabric capacity (e.g., F64, F128).
- Multiple users can use Fabric without needing individual Premium licenses.
- Best for production workloads and multi-user projects.
- 2. Per user (Power BI Premium Per User – PPU)
- Individual license unlocks Fabric features.
- Great for personal learning, small teams, or pilot projects.
Rule of thumb:
- Start with PPU for small-scale testing.
- Move to capacity when scaling to production and multiple teams.
Final Thoughts
By the end of today, you should have:
- A new Fabric workspace.
- Assigned compute capacity for performance.
- Added users with the right roles.
- Understood the licensing options.

Leave a comment